So first of all I have cut off any pieces that I don't need. Like the sides that fold over the box to close it. I used a sharp pocket knife for this but I am sure any razory blade thing will do! The sharper the better but watch your fingers! :)
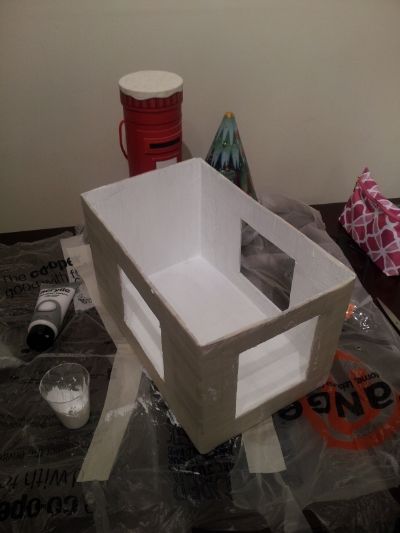
After this step was completed I have measured out suitable windows. Mine are approx 12x15cm. The difficult part to get them in the same spot of the box but nothing simple ruler can't help you with! Once I have traced the shape for each window, I have slowly started cutting out the shapes with the pocket knife. I have made 3 windows. 2 on either side to prevent from shadows on pictures and one on top of the box for shots with different effects. I sort of only decided to start taking pictures of it once the cutting out was done but hey. I am sure you all get it. :)

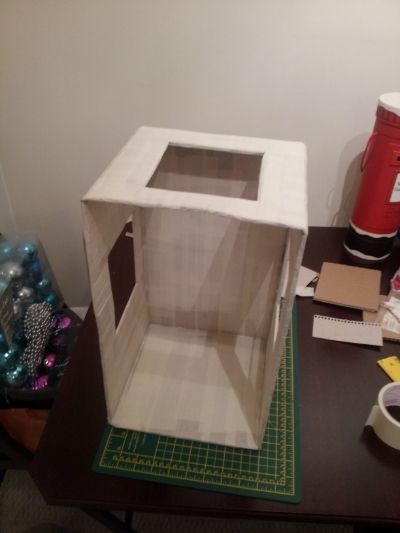
So once all the windows have been cut out, I needed to ensure the whole box is smooth and evenly surfaced for painting. I have used masking tape for this. I have thoroughly gone the whole way around the box and taped over the whole thing. This step takes probably about half an hour to an hour. And here is the finished taping result:
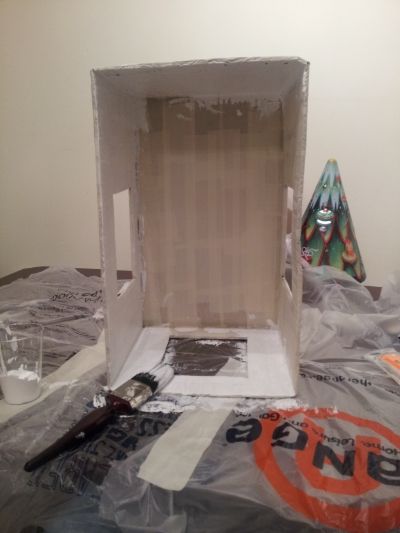
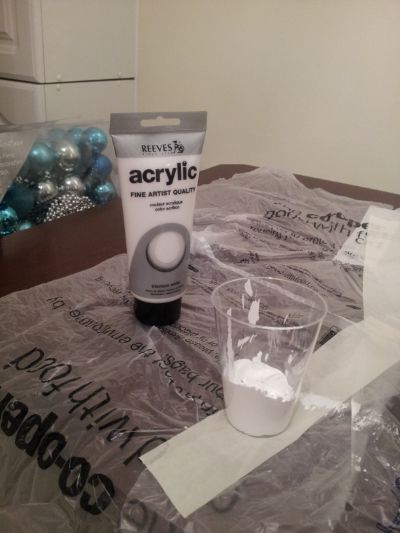
Next step is painting the inside of the box to prevent any lighter/darker edges. Even though pictures aren't taken directly on the box background, it's important to paint it white so it reflects the light better. For this I have got some white acrylic paint and a big wall paint brush. "Fine artistic quality"... Oh yeah! Only the best! Haha it was only £5 so wouldn't break the bank! :) Make sure that you paint all the corner and really go into any little dips. Then let it dry over night to be on the safe side. Once that is done, get some tracing paper sheets and place them over each window and tape them to the box using masking tape... And you are done! Get some coloured card to put on the bottom of the box and on the behind wall for effect. Play around with different colours for desired outcome.
So total time spent on this project: Approx 2 hours. Cost of the project: less than £10. Don't think it's all that bad considering professional option would cost you anything from £30 upwards. Total save then is £20 or more! ;) Give it a go!